The Power of Visual Learning in Time-Telling Instruction
Visual aids are essential tools for teaching time-telling. They help children understand abstract concepts, recognize patterns, and build mental models of how clocks work. This comprehensive guide explores the most effective visual learning tools and strategies for teaching time to elementary students.
Why Visual Aids Are Critical for Time-Telling
- Abstract to Concrete: Make invisible time concepts visible and tangible
- Pattern Recognition: Help students see relationships and patterns
- Memory Support: Visual memory aids retention and recall
- Differentiation: Support diverse learning needs and styles
- Reference Tools: Provide ongoing support during independent practice
Essential Visual Aids for Every Classroom
1. Color-Coded Clock Faces
What It Is: Clock with different colors highlighting key features
Effective Color Schemes:
Hand Differentiation:
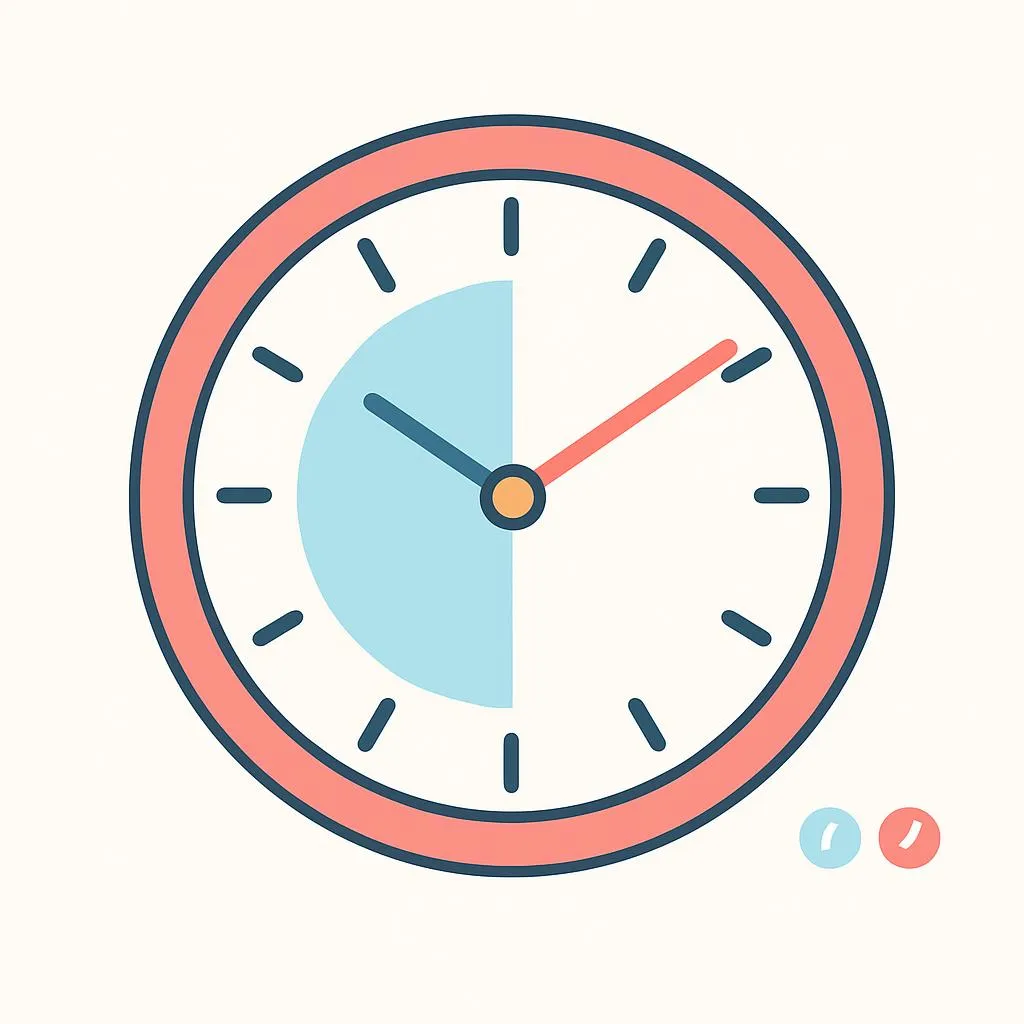
- Blue hour hand (short, slow)
- Red minute hand (long, fast)
- Helps prevent hand confusion
Minute Intervals:
- Green for 0-15 minutes (quarter past zone)
- Yellow for 15-30 minutes (half past zone)
- Orange for 30-45 minutes (quarter to zone)
- Red for 45-60 minutes (approaching hour)
Past/To Division:
- Right half (12-6) in one color = "past"
- Left half (6-12) in another color = "to"
How to Create:
- Purchase pre-made color-coded clocks
- Use colored tape on existing clocks
- Print and laminate colored clock faces
- Paint or color demonstration clocks
2. Labeled Minute Clocks
What It Is: Clock face showing minute values (5, 10, 15, 20...60) around the edge
Why It Works:
- Shows the "hidden" minute values
- Supports skip counting by fives
- Makes minute reading explicit
- Reduces cognitive load
Design Options:
Option 1: Dual Numbers
- Hour numbers (1-12) in large font inside
- Minute numbers (5-60) in smaller font outside
- Different colors for each set
Option 2: Minute Markers
- Small tick marks for each minute
- Larger marks at 5-minute intervals
- Numbers at 5-minute intervals
Scaffolding Strategy:
- Start with fully labeled clocks
- Gradually remove labels as students improve
- End with standard clock face
3. Quarter Division Visual
What It Is: Clock divided into four equal sections showing quarters
Visual Elements:
- Lines dividing clock into quarters (12-6 and 3-9)
- Each quarter shaded differently
- Labels: "Quarter 1 (0-15)", "Quarter 2 (15-30)", etc.
- Fraction notation: 1/4, 2/4, 3/4, 4/4
Teaching Applications:
- Introducing quarter hours
- Teaching fractions through time
- Understanding "quarter past" and "quarter to"
- Visualizing time progression
4. Analog-Digital Comparison Charts
What It Is: Side-by-side display of same times in both formats
Effective Layouts:
Matching Pairs:
- Analog clock on left, digital time on right
- Show 12-16 common times
- Include whole hours, half hours, quarter hours
Conversion Practice:
- Three columns: Analog | Digital | Words
- Example: [Clock showing 3:30] | 3:30 | "Three thirty" or "Half past three"
- Helps students see all representations
5. Time Progression Timelines
What It Is: Linear representation showing time progression
Horizontal Timeline:
- Left to right: 12:00 → 12:15 → 12:30 → 12:45 → 1:00
- Clock faces above each time
- Shows movement through one hour
Circular Timeline:
- Clock face with arrows showing progression
- Highlights key times around the circle
- Shows cyclical nature of time
Anchor Charts: Teacher-Created Visual References
6. "How to Read a Clock" Step-by-Step Chart
Content:
- Step 1: Find the SHORT hand (hour hand)
- Step 2: See which two numbers it's between
- Step 3: Use the SMALLER number for the hour
- Step 4: Find the LONG hand (minute hand)
- Step 5: Count by fives to where it points
- Step 6: Say the time: [hour]:[minutes]
Design Tips:
- Use large, clear fonts
- Include visual examples for each step
- Color code key words
- Laminate for durability
7. "Hour Hand vs. Minute Hand" Comparison Chart
Two-Column Format:
Hour Hand:
- SHORT
- SLOW (moves slowly)
- Shows the HOUR
- Points between numbers (usually)
- Blue color
Minute Hand:
- LONG
- FAST (moves quickly)
- Shows the MINUTES
- Points to numbers
- Red color
8. "Counting by Fives" Clock Chart
Visual Design:
- Large clock face in center
- Arrows pointing from each number to its minute value
- 1 → 5, 2 → 10, 3 → 15, etc.
- Color-coded for easy reference
9. "Time Vocabulary" Word Wall
Essential Terms:
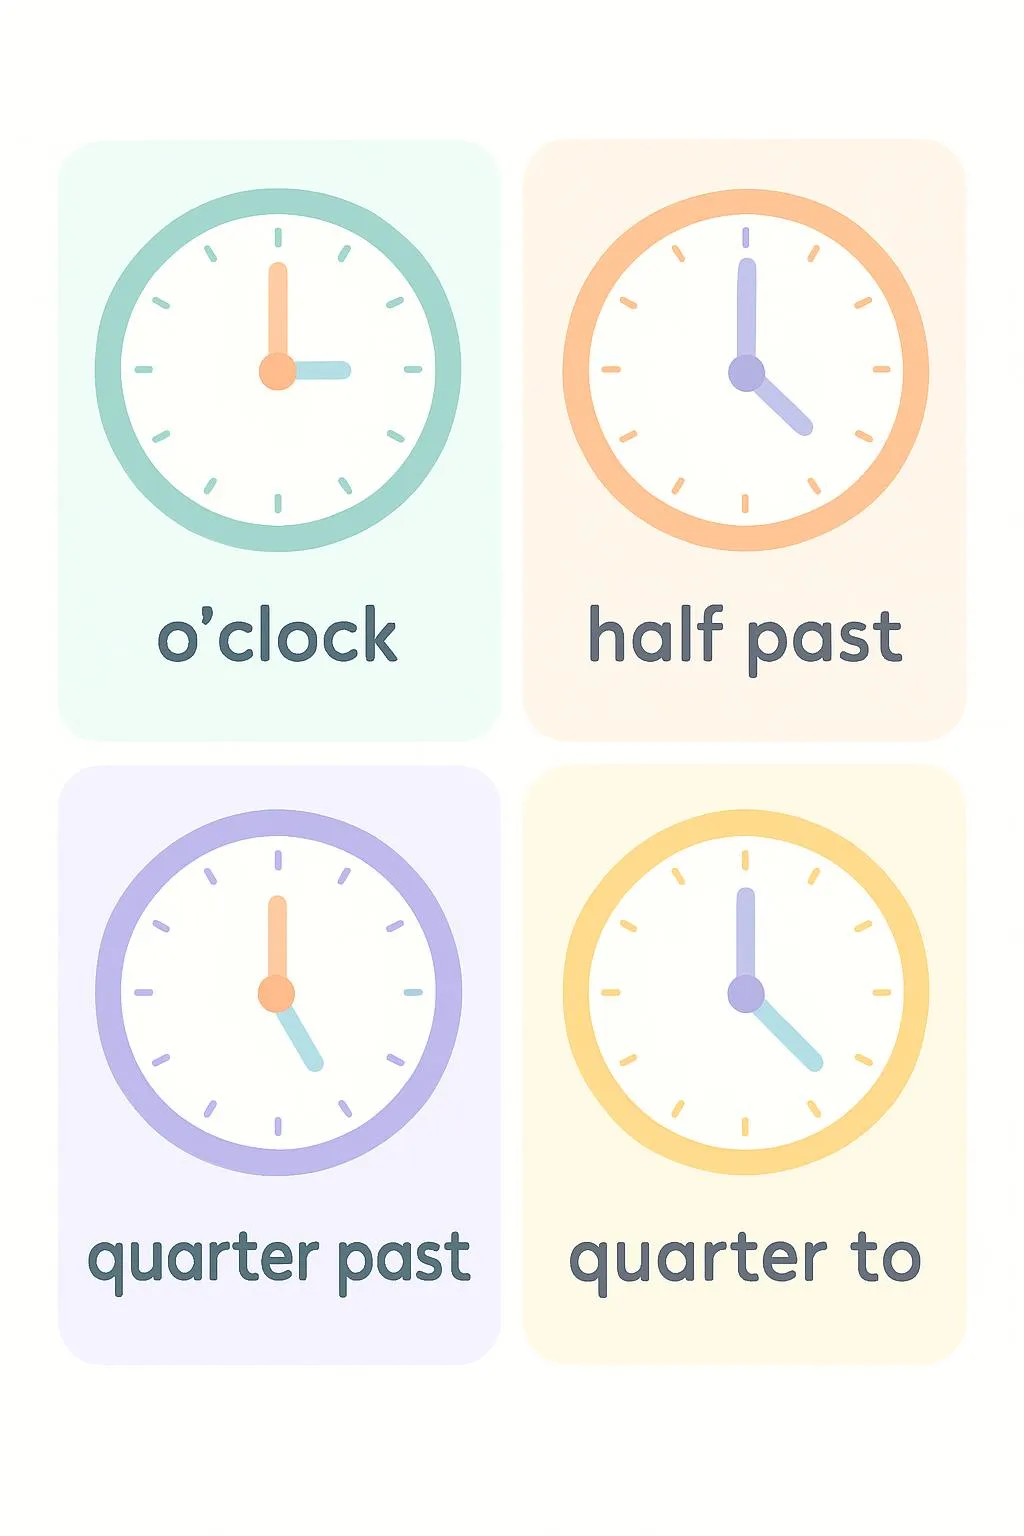
- O'clock, half past, quarter past, quarter to
- Hour, minute, second
- AM, PM, noon, midnight
- Before, after, earlier, later
- Clock, watch, timer
Include: Word, definition, visual example, sentence
Interactive Visual Tools
10. Movable Clock Parts Display
What It Is: Large clock with detachable/movable components
Components:
- Removable hour hand
- Removable minute hand
- Interchangeable number cards
- Velcro or magnetic attachments
Teaching Uses:
- Show clock assembly
- Demonstrate hand movement independently
- Practice hand placement
- Build understanding of clock structure
11. Transparent Overlay Clocks
What It Is: Clear plastic overlays showing different time elements
Overlay Options:
- Base clock face (numbers only)
- Overlay 1: Minute numbers
- Overlay 2: Quarter divisions
- Overlay 3: Past/to zones
Teaching Strategy: Layer overlays to show increasing complexity
12. Floor Clocks for Movement Activities
What It Is: Large clock taped or painted on classroom floor
Activities:
- Students stand on numbers
- Walk around clock counting by fives
- Act as clock hands
- Physical, kinesthetic learning
Creation:
- Use colored tape for outline
- Number cards at each position
- Removable for flexibility
Digital Visual Aids
13. Animated Clock Demonstrations
What They Show:
- Hands moving in real-time
- Hour hand moving gradually as minutes pass
- Relationship between hand movements
- Time progression visually
Where to Find:
- YouTube educational channels
- Interactive whiteboard software
- Educational websites
- Time-telling apps
14. Interactive Whiteboard Clock Tools
Features:
- Draggable clock hands
- Automatic digital time display
- Color customization
- Save and share examples
Teaching Applications:
- Whole-class demonstrations
- Student practice at board
- Creating examples to save
- Interactive games
15. Projection-Ready Worksheets
What They Are: Worksheets designed for projection and group work
Use Our Generator:
- Create worksheet with our free tool
- Project on screen or whiteboard
- Complete together as class
- Students follow along at desks
Student Reference Materials
16. Individual Desk Reference Cards
What They Are: Laminated cards students keep at desks
Front Side:
- Labeled clock showing minute values
- Color-coded for clarity
Back Side:
- Quick reference guide
- "How to Read a Clock" steps
- Common times (quarter past, half past, etc.)
17. Time-Telling Bookmarks
Design:
- Narrow format fits in books
- Clock face on one side
- Key vocabulary on other side
- Students use during reading time
18. Personal Clock Journals
What They Are: Student-created visual reference books
Contents:
- Clock face templates
- Examples of times learned
- Student drawings and notes
- Practice problems and solutions
Benefits:
- Personalized learning tool
- Portfolio of progress
- Reference during practice
- Ownership of learning
Environmental Visual Supports
19. Multiple Clocks in Classroom
Strategic Placement:
- Large analog clock at front (main reference)
- Digital clock nearby (comparison)
- Student-accessible clocks at stations
- Labeled practice clocks on walls
Variety:
- Different sizes
- Different styles
- Some with labels, some without
- Progression from scaffolded to standard
20. Daily Schedule with Clock Faces
Design:
- List of daily activities
- Clock face showing time next to each activity
- Pictures for non-readers
- Visible from anywhere in room
Benefits:
- Constant time reference throughout day
- Connects time to real activities
- Natural practice opportunities
- Builds time awareness
Creating Effective Visual Aids
Design Principles:
Clarity:
- Large, easy-to-read fonts
- High contrast colors
- Uncluttered design
- Clear labels
Color Use:
- Consistent color coding across all materials
- Not too many colors (3-4 maximum)
- Consider colorblind students
- Use color plus other differentiators (size, shape)
Durability:
- Laminate paper materials
- Use quality materials
- Store properly when not in use
- Create backups of frequently used items
Scaffolding Visual Supports
Gradual Release Strategy:
Phase 1: Heavy Scaffolding
- Fully labeled clocks
- Color coding on everything
- Multiple reference materials visible
Phase 2: Moderate Scaffolding
- Some labels removed
- Color coding reduced
- Reference materials available but not always visible
Phase 3: Minimal Scaffolding
- Standard clock faces
- Reference materials available on request
- Students work more independently
Phase 4: Independence
- No visual supports needed
- Students read standard clocks confidently
- Supports available for review only
Assessment Using Visual Aids
Visual-Based Assessment Tasks:
- Point to correct time on labeled clock
- Match clock faces to digital times
- Sort times into color-coded categories
- Draw hands on blank clock faces
- Sequence clocks in chronological order
Differentiation with Visual Aids
For Struggling Learners:
- More scaffolding (labels, colors)
- Larger visual aids
- Simplified designs
- Personal reference materials always available
For Advanced Learners:
- Standard clock faces
- More complex visual challenges
- Create their own visual aids
- Teach others using visuals
For English Language Learners:
- Heavy use of pictures and symbols
- Bilingual labels when possible
- Visual vocabulary cards
- Minimize text, maximize visuals
Conclusion: Seeing Time Clearly
Visual aids transform abstract time concepts into concrete, understandable information. By strategically using color, labels, charts, and interactive tools, you can help all students master time-telling skills.
Key Takeaways:
- Visual aids make abstract time concepts concrete
- Color coding and labels provide essential scaffolding
- Variety of visual tools supports different learning styles
- Gradual removal of supports builds independence
- Environmental visuals provide constant reinforcement
Your Action Plan:
- Start with 2-3 essential visual aids (labeled clock, anchor chart)
- Add variety gradually based on student needs
- Use consistent color coding across all materials
- Create reference materials for student use
- Generate practice worksheets with our free tool
- Plan gradual scaffold removal as students improve
Recommended Reading
- Best Clock Teaching Tools for Classroom Success
- Printable Clock Face Templates: Free Downloads
- Montessori Approach to Teaching Time
- 📖 Complete Teaching Guide: How to Teach Children to Tell Time
Ready to enhance your visual teaching tools? Create clear, effective practice materials with our free worksheet generator today!