
The Power of Clock Worksheets in Time-Telling Education
Clock worksheets are one of the most effective tools for teaching children to tell time. When used strategically, they provide structured practice, reinforce concepts, and build confidence. However, not all worksheet use is created equal. This guide will show you how to maximize the educational impact of printable clock worksheets in your classroom or at home.
Why Clock Worksheets Work
Research in educational psychology shows that worksheets are effective because they:
- Provide Repetition: Essential for building automaticity in time recognition
- Allow Independent Practice: Students work at their own pace
- Offer Immediate Feedback: Students can check their work quickly
- Track Progress: Visual record of improvement over time
- Accommodate Differentiation: Easy to customize for different skill levels
- Support Home Learning: Parents can reinforce classroom instruction
Types of Clock Worksheets and Their Uses
1. Reading Time Worksheets
Purpose: Students read clock faces and write the time
Best For: Initial practice and assessment of time-reading skills
Implementation Tips:
- Start with whole hours only
- Progress to half hours, then quarter hours
- Use 8-12 clocks per page for younger students
- Increase to 16-20 clocks for advanced practice
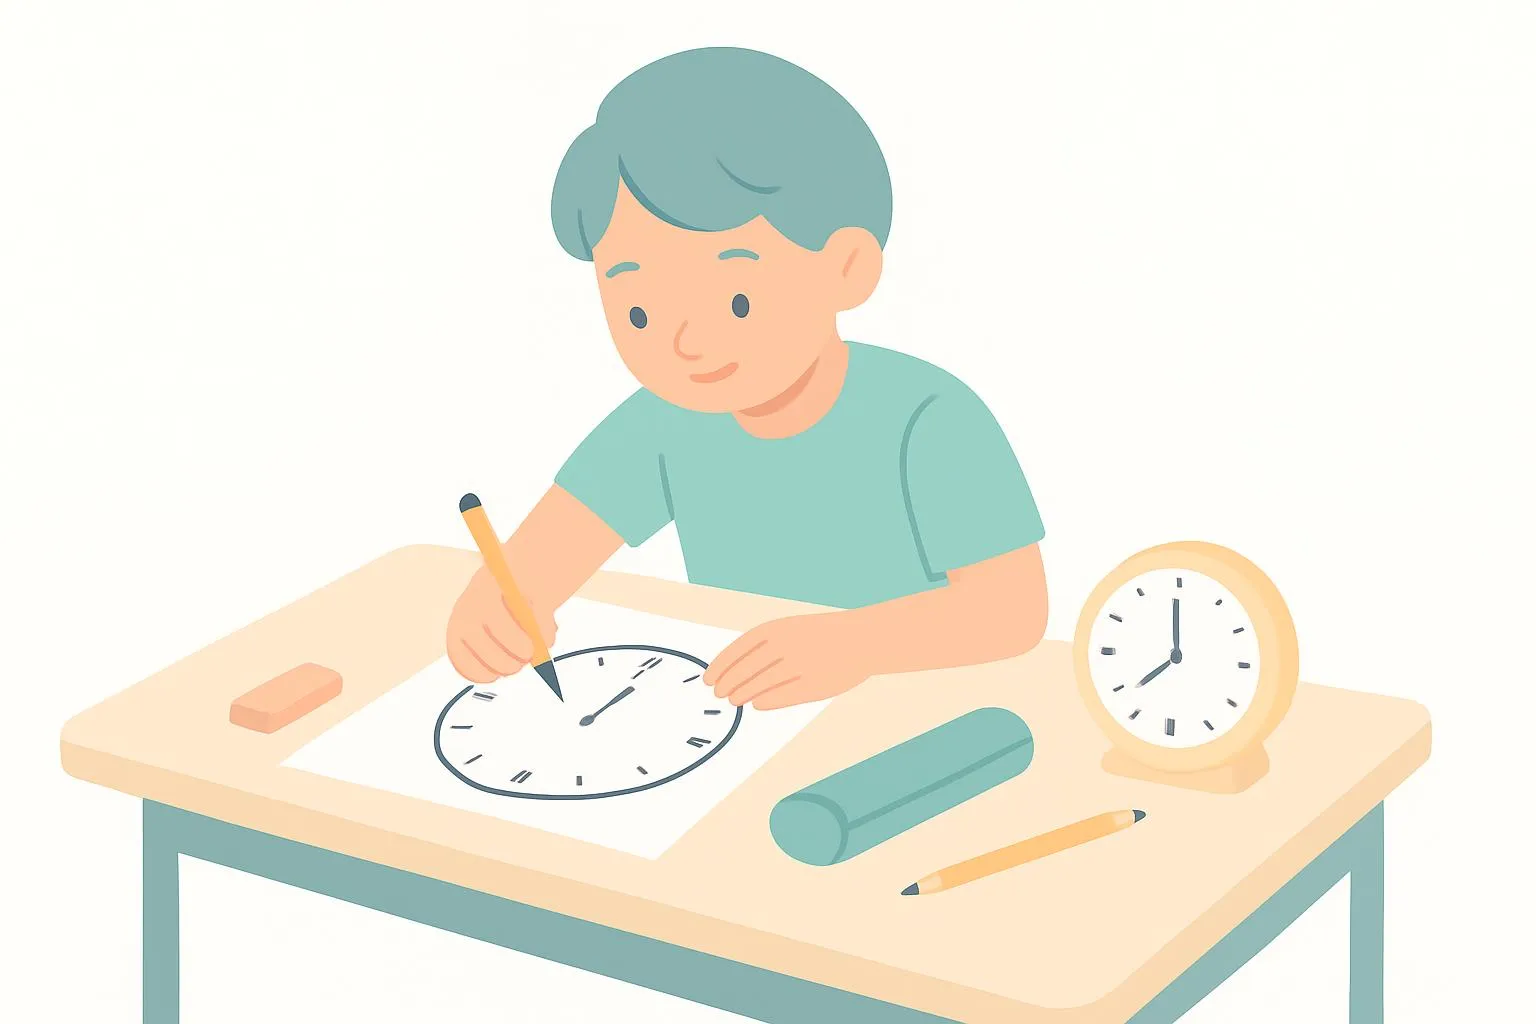
2. Drawing Hands Worksheets
Purpose: Students draw clock hands to show given times
Best For: Reinforcing understanding of hand positions and angles
Implementation Tips:
- Provide clear clock faces with all numbers
- Start with times where hands point directly at numbers
- Progress to times where the hour hand is between numbers
- Emphasize correct hand lengths (short for hours, long for minutes)
3. Matching Worksheets
Purpose: Match analog clocks to digital times or written words
Best For: Building connections between different time representations
Implementation Tips:
- Use clear visual layout with adequate spacing
- Include 6-10 matching pairs per worksheet
- Mix difficulty levels within the same worksheet
- Consider color-coding for younger learners
4. Elapsed Time Worksheets
Purpose: Calculate time differences and durations
Best For: Advanced students ready for time calculations
Implementation Tips:
- Start with whole hour differences (2:00 to 5:00)
- Progress to half-hour intervals
- Eventually include times crossing the hour
- Use real-world scenarios for context
5. Sequencing Worksheets
Purpose: Arrange times in chronological order
Best For: Understanding time progression and comparison
Implementation Tips:
- Provide 4-6 clocks to sequence
- Include both AM and PM times for advanced students
- Connect to daily schedule activities
- Use number lines to visualize time order
Strategic Implementation: The 5-Step Process
Step 1: Assess Current Skill Level
Before assigning worksheets, determine where each student stands:
- Can they identify numbers 1-12?
- Do they understand the clock face structure?
- Can they distinguish hour and minute hands?
- What time intervals have they mastered?
Action: Use a quick diagnostic worksheet with mixed difficulty levels to assess baseline skills.
Step 2: Select Appropriate Difficulty
Match worksheet difficulty to student ability:
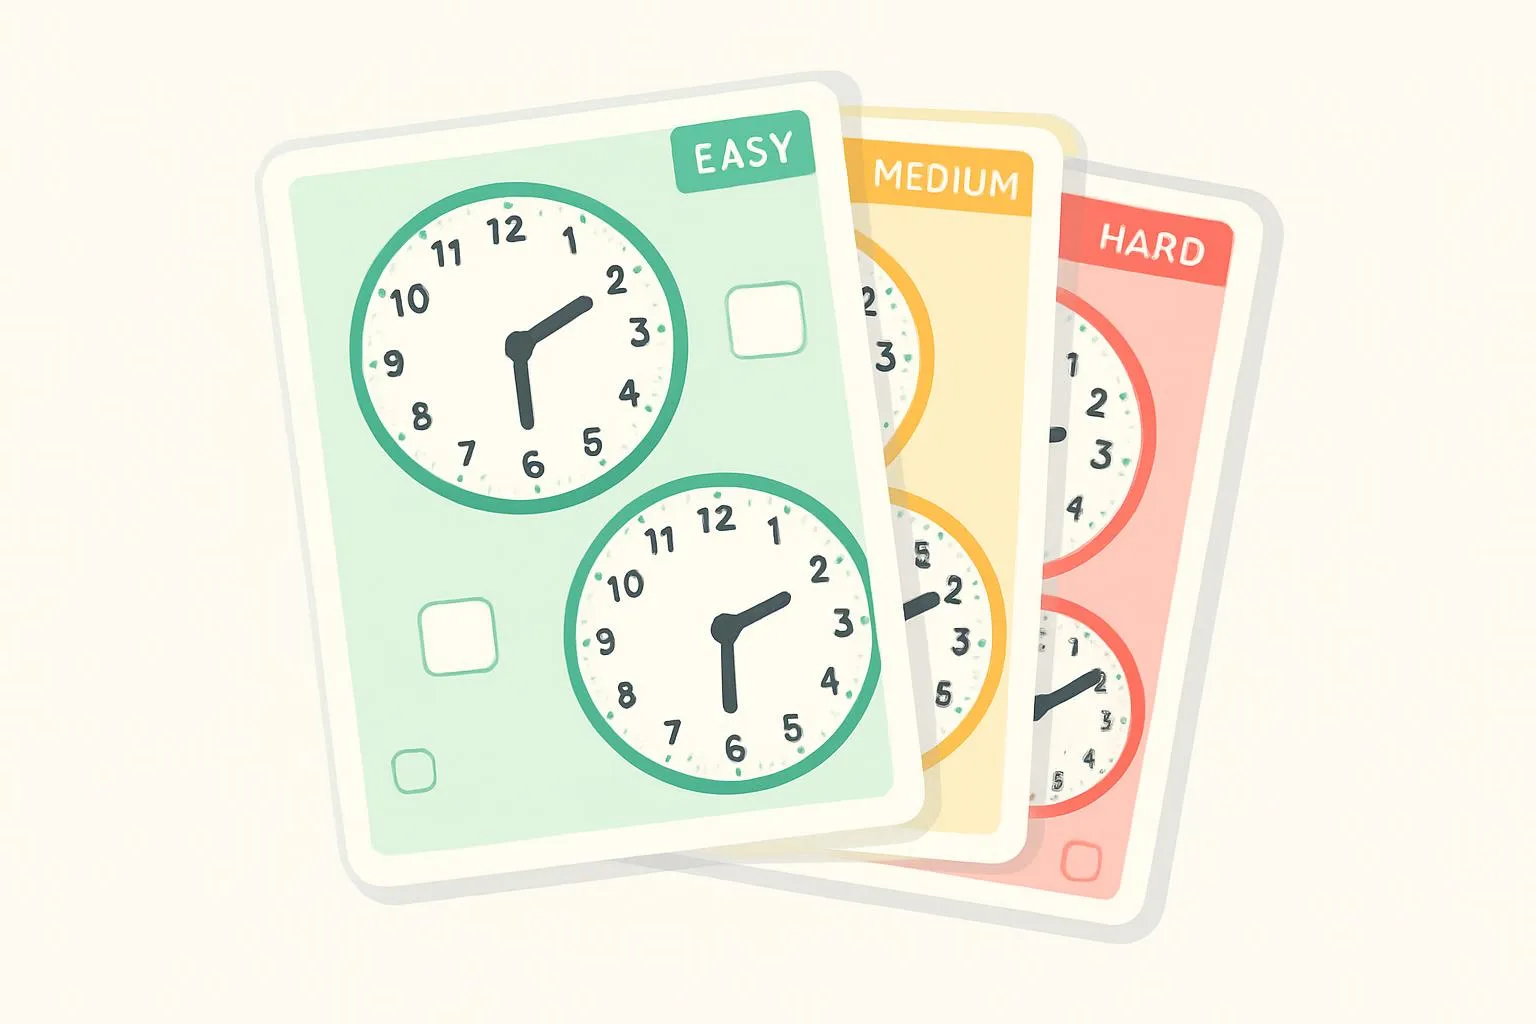
- Beginning Level: Whole hours only, 8-10 clocks, large clear faces
- Intermediate Level: Half and quarter hours, 12-16 clocks, standard size
- Advanced Level: Five-minute intervals, 16-20 clocks, varied formats
- Mastery Level: One-minute precision, elapsed time, word problems
Pro Tip: Use our clock worksheet generator to create perfectly leveled worksheets in seconds.
Step 3: Introduce with Direct Instruction
Never assign worksheets cold. Always provide instruction first:
- Model: Complete 2-3 examples together as a class
- Think Aloud: Verbalize your thought process
- Guided Practice: Students complete 2-3 with your support
- Check Understanding: Ask questions to verify comprehension
- Independent Work: Release students to complete worksheet
Step 4: Monitor and Support
During independent work:
- Circulate: Move around the room checking work
- Provide Hints: Guide struggling students without giving answers
- Challenge Advanced Students: Offer extension activities
- Note Patterns: Identify common errors for whole-class review
- Encourage Peer Support: Allow students to help each other
Step 5: Review and Provide Feedback
Maximize learning through effective review:
- Immediate Feedback: Review answers while concepts are fresh
- Error Analysis: Discuss why wrong answers are incorrect
- Celebrate Success: Acknowledge improvement and mastery
- Reteach as Needed: Address misconceptions immediately
- Document Progress: Keep worksheets to show growth over time
Differentiation Strategies
For Struggling Learners:
- Reduce Quantity: Fewer clocks per page (4-6 instead of 12)
- Increase Size: Larger clock faces for easier reading
- Color Code: Use different colors for hour and minute hands
- Add Scaffolding: Include minute markers or number hints
- Partner Work: Pair with a peer mentor
- Extended Time: Allow more time to complete
For Advanced Learners:
- Increase Complexity: Use one-minute precision times
- Add Challenges: Include elapsed time problems
- Remove Scaffolds: Blank clock faces without minute marks
- Real-World Applications: Word problems with time
- Create Their Own: Have students design worksheets for peers
- Time Zones: Introduce international time concepts
For English Language Learners:
- Visual Support: Use pictures alongside written times
- Vocabulary Lists: Provide time-related word banks
- Bilingual Options: Include native language support when possible
- Simplified Language: Use clear, simple instructions
- Model Examples: Provide completed examples as reference
Common Mistakes to Avoid
Mistake 1: Too Much Too Soon
Problem: Overwhelming students with difficult worksheets before they're ready
Solution: Follow a systematic progression. Master whole hours before moving to half hours. Don't rush!
Mistake 2: Worksheet Overload
Problem: Using worksheets as the only teaching method
Solution: Balance worksheets with games, hands-on activities, and real-world practice. Worksheets should be 30-40% of instruction, not 100%.
Mistake 3: No Feedback Loop
Problem: Assigning worksheets without reviewing answers
Solution: Always review completed worksheets. Discuss errors and celebrate successes. Feedback is essential for learning.
Mistake 4: One-Size-Fits-All
Problem: Giving the same worksheet to all students regardless of ability
Solution: Differentiate! Use our generator to create multiple versions at different difficulty levels.
Mistake 5: Boring Presentation
Problem: Plain, uninspiring worksheets that don't engage students
Solution: Add themes, colors, and variety. Make worksheets visually appealing and contextually relevant.
Maximizing Engagement
Make It Relevant:
- Connect times to students' daily schedules
- Use times from favorite TV shows or activities
- Include times from school events and field trips
- Reference local community times (library hours, store openings)
Add Gamification:
- Timed Challenges: "How many can you complete in 5 minutes?"
- Accuracy Goals: "Can you get 100% correct today?"
- Progress Tracking: Chart improvement over time
- Reward Systems: Stickers or points for completed worksheets
Incorporate Technology:
- Use interactive whiteboards to complete worksheets together
- Project worksheets for whole-class practice
- Create digital versions students can complete on tablets
- Use our online generator to create fresh worksheets instantly
Worksheet Scheduling: A Weekly Plan
Monday: Introduction
Introduce new time concept with direct instruction. Complete 1 simple worksheet together as guided practice.
Tuesday: Reinforcement
Students complete independent worksheet at appropriate difficulty level. Review as a class.
Wednesday: Application
Use games and hands-on activities instead of worksheets. Apply concepts in different contexts.
Thursday: Mixed Practice
Worksheet combining current concept with previously learned skills. Builds retention and integration.
Friday: Assessment
Use worksheet as informal assessment. Identify students needing additional support.
Home-School Connection
Sending Worksheets Home:
- Clear Instructions: Include parent guidance on how to help
- Answer Keys: Provide answers so parents can check work
- Appropriate Difficulty: Send work students can complete with minimal help
- Reasonable Quantity: 10-15 minutes of work, not an hour
- Positive Tone: Frame as practice, not punishment
Parent Communication:
Include a note like this:
"This worksheet provides practice with [skill]. Please help your child by: 1) Reviewing the example together, 2) Encouraging them to try independently, 3) Checking answers using the key, 4) Celebrating their effort! If your child struggles, that's okay—we'll continue practicing at school."
Assessment Through Worksheets
Formative Assessment:
- Use daily worksheets to gauge understanding
- Note which times cause the most errors
- Identify students needing intervention
- Adjust instruction based on results
Summative Assessment:
- Create comprehensive worksheets covering all learned concepts
- Include variety of question types
- Use results to determine mastery
- Document progress for report cards
Progress Monitoring:
- Keep completed worksheets in student portfolios
- Compare early and later work to show growth
- Share progress with students and parents
- Use data to inform future instruction
Creating Your Own Effective Worksheets
While our free generator makes worksheet creation easy, understanding design principles helps:
Layout Principles:
- White Space: Don't crowd the page—leave room around each clock
- Clear Fonts: Use large, readable fonts for instructions and times
- Logical Organization: Arrange clocks in neat rows and columns
- Consistent Sizing: Keep all clocks the same size on one worksheet
Content Principles:
- Progressive Difficulty: Start easier, end harder within one worksheet
- Varied Times: Don't use predictable patterns (1:00, 2:00, 3:00)
- Appropriate Quantity: Match number of problems to student age and ability
- Clear Instructions: State exactly what students should do
Conclusion: Worksheets as Part of a Balanced Approach
Clock worksheets are powerful tools when used effectively. They provide essential practice, allow for differentiation, and track progress. However, they work best as part of a comprehensive approach that includes:
- Direct instruction and modeling
- Hands-on activities with manipulative clocks
- Engaging games and interactive practice
- Real-world time-telling applications
- Regular assessment and feedback
Your Action Plan:
- Assess your students' current time-telling abilities
- Generate appropriately leveled worksheets using our free tool
- Follow the 5-step implementation process
- Differentiate for diverse learners
- Balance worksheets with other teaching methods
- Provide consistent feedback and celebrate progress
Recommended Reading
- Clock Worksheets for Teachers: Classroom Resources
- Blank Clock Worksheets: Customizable Practice Pages
- Printable Clock Face Templates: Free Downloads
- 📖 Complete Teaching Guide: How to Teach Children to Tell Time
Ready to create perfectly customized clock worksheets? Visit our free worksheet generator and start building effective practice materials in seconds!